Prototyping and wireframing are crucial stages in the web design process. They help designers
visualize the structure and functionality of a website before moving on to full-scale development.
This guide delves into the importance of prototyping and wireframing, the steps involved, and the
best practices to ensure a smooth and effective design process.
Introduction to Prototyping and Wireframing
Prototyping and wireframing are essential techniques in web design that allow designers to create a
visual blueprint of a website. Wireframes focus on the layout and structure, while prototypes add
interactive elements to test functionality. These techniques help identify potential issues early,
saving time and resources during development.
The Importance of Prototyping and Wireframing
Visualization of Ideas
Prototyping and wireframing allow designers to visualize ideas and concepts before they are fully
developed.
1. Conceptualization: Transform abstract ideas into tangible layouts and structures.
2. Communication: Facilitate communication between designers, developers, and
stakeholders by providing a visual representation of the website.
Identifying Issues Early
Early-stage prototyping and wireframing help identify usability issues and design flaws before
development begins.
1. Usability Testing: Conduct usability testing with wireframes and prototypes to gather user
feedback.
2. Iterative Improvements: Make necessary adjustments based on feedback to improve the
design.Streamlining the Design Process
Prototyping and wireframing streamline the design process by providing a clear roadmap for
development.
1. Clear Direction: Offer a clear direction for developers, reducing misunderstandings and
rework.
2. Efficient Workflow: Enable a more efficient workflow by outlining the structure and
functionality early on.
Steps Involved in Prototyping and Wireframing
Research and Planning
The first step is to conduct thorough research and planning to understand the project requirements
and user needs.
1. Project Goals: Define the goals and objectives of the project.
2. User Research: Conduct user research to gather insights into the target audience’s needs
and preferences.
3. Content Strategy: Develop a content strategy to determine what information needs to be
included and how it should be organized.
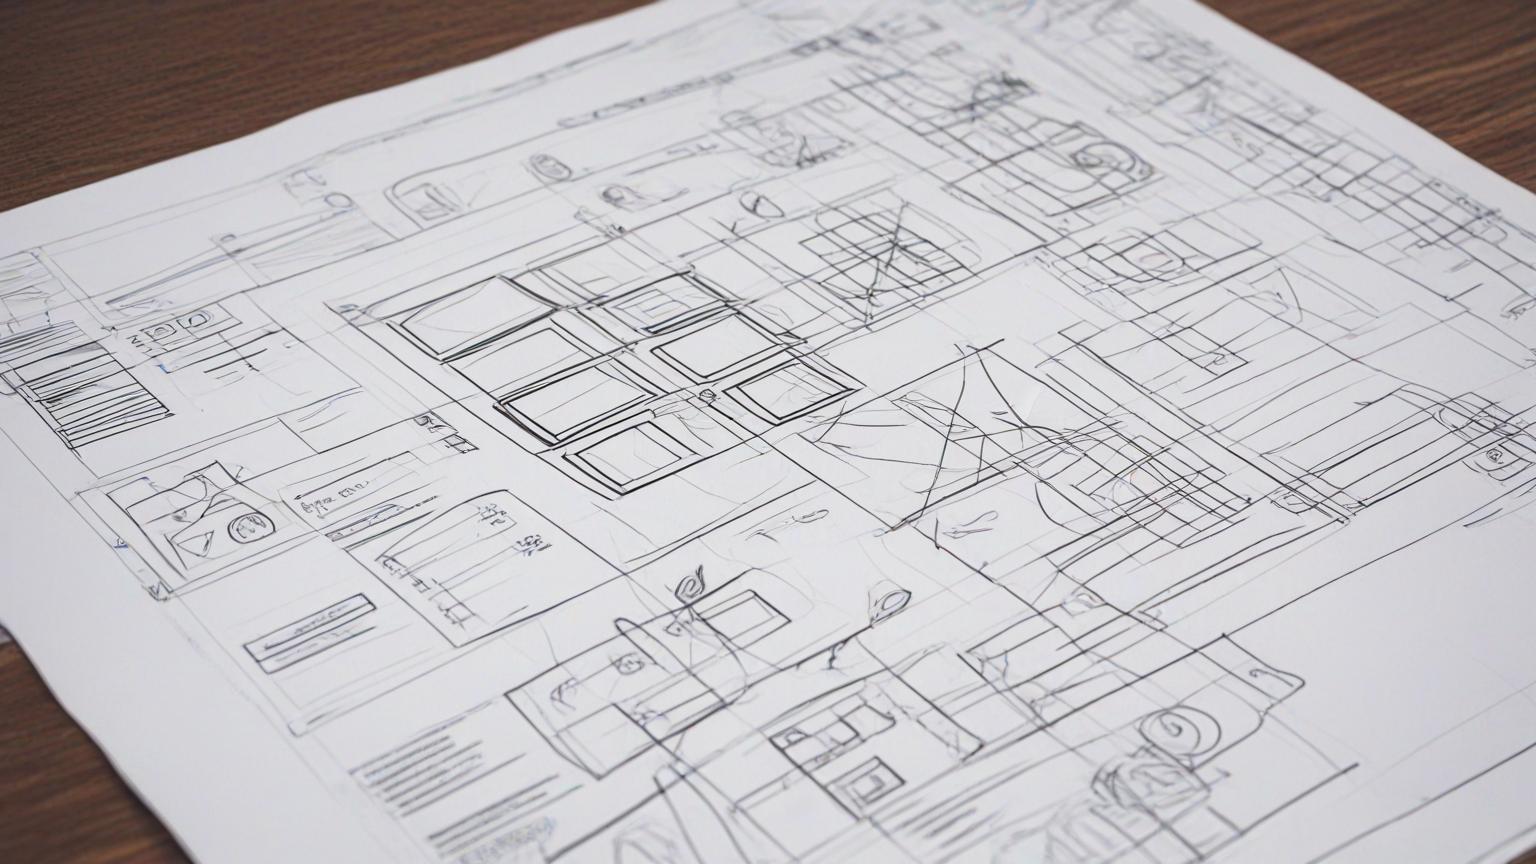
Creating Wireframes
Wireframes are low-fidelity sketches that outline the basic structure and layout of the website.
1. Sketching: Start with rough sketches to brainstorm ideas and concepts.
2. Layout Design: Design the layout by arranging elements such as headers, footers, navigation
menus, and content areas.
3. Annotating: Annotate the wireframes to provide additional context and details about each
element.
Developing Prototypes
Prototypes are interactive representations of the website that allow for testing of functionality and
user interactions.
1. Low-Fidelity Prototypes: Create low-fidelity prototypes to test basic interactions and
workflows.
2. High-Fidelity Prototypes: Develop high-fidelity prototypes with detailed design elements
and interactions for more thorough testing.
3. Usability Testing: Conduct usability testing with prototypes to gather feedback and make
improvements.
Best Practices for Prototyping and Wireframing
Focus on User NeedsAlways keep the user’s needs and preferences at the forefront of the design process.
1. User-Centered Design: Design with the user in mind, ensuring that the layout and
interactions meet their needs.
2. User Feedback: Continuously gather and incorporate user feedback to refine the design.
Keep It Simple
Simplicity is key in wireframing and prototyping to avoid unnecessary complexity and ensure clarity.
1. Minimalistic Design: Use a minimalistic design approach to focus on functionality and
usability.
2. Clarity: Ensure that the wireframes and prototypes are clear and easy to understand.
Iterate and Improve
Design is an iterative process. Continuously refine and improve the wireframes and prototypes
based on feedback.
1. Feedback Loops: Establish feedback loops to gather input from users and stakeholders
regularly.
2. Iterative Design: Make iterative improvements to enhance the design and address any
issues.
Use the Right Tools
Choosing the right tools for wireframing and prototyping can significantly enhance the design
process.
1. Wireframing Tools: Use tools like Balsamiq, Sketch, or Adobe XD for creating wireframes.
2. Prototyping Tools: Use tools like Figma, InVision, or Marvel for developing interactive
prototypes.
Tools for Prototyping and Wireframing
Figma
Features: Real-time collaboration, vector editing, prototyping, and design systems.
Use Case: Ideal for creating interactive prototypes and collaborating with team members.
Sketch
Features: Vector editing, reusable components, and integration with other design tools.
Use Case: Great for designing wireframes and high-fidelity prototypes.
Adobe XD Features: Prototyping, wireframing, vector design, and seamless integration with Adobe
Creative Cloud.
Use Case: Suitable for creating both wireframes and interactive prototypes.
Balsamiq
Features: Simple drag-and-drop interface for creating low-fidelity wireframes.
Use Case: Perfect for quickly sketching out ideas and basic layouts.
InVision
Features: Prototyping, collaboration, and user testing tools.
Use Case: Excellent for developing high-fidelity prototypes and conducting usability testing.
Real-World Case Studies
Dropbox
1. Overview: Dropbox used wireframes and prototypes extensively during their redesign
process to streamline collaboration and user testing.
2. Design Elements: Focused on creating a clean and intuitive interface with clear navigation
and usability.
3. Impact: The iterative design process helped Dropbox improve user satisfaction and
engagement.
Airbnb
1. Overview: Airbnb uses Figma for prototyping and collaboration, allowing their design team
to work efficiently and effectively.
2. Design Elements: High-quality imagery, intuitive search and navigation, and clear calls-to-
action.
3. Impact: The use of interactive prototypes enabled Airbnb to gather valuable user feedback
and refine their design, enhancing the overall user experience.
Google
1. Overview: Google’s design teams use tools like Sketch and InVision for wireframing and
prototyping, ensuring consistent and user-friendly interfaces.
2. Design Elements: Simple, clean layouts with a focus on functionality and accessibility.
3. Impact: The thorough prototyping process helped Google create interfaces that are intuitive
and efficient, contributing to their global success.
Best Practices for Ensuring Effective Prototyping and Wireframing
Start with Low-Fidelity Wireframes
Begin with low-fidelity wireframes to outline the basic structure and layout without getting bogged
down in details.1. Basic Layouts: Focus on the overall layout and arrangement of elements.
2. Quick Iterations: Make quick iterations based on feedback to refine the structure.
Move to High-Fidelity Prototypes
Once the basic structure is established, move to high-fidelity prototypes to test detailed design
elements and interactions.
1. Detailed Design: Add design details such as colors, fonts, and images.
2. Interactive Elements: Incorporate interactive elements to simulate the user experience.
Conduct Usability Testing
Usability testing is crucial for identifying issues and gathering feedback to improve the design.
1. Test with Real Users: Conduct usability tests with real users to gather authentic feedback.
2. Observe Interactions: Observe how users interact with the prototype to identify pain points
and areas for improvement.
Document and Share Findings
Document the findings from usability testing and share them with the team to ensure everyone is
aligned on the next steps.
1. Detailed Reports: Create detailed reports outlining the feedback and suggested
improvements.
2. Collaborative Review: Review the findings collaboratively to decide on the necessary
changes.


 by Aqib Chaudhary